Arzu Dural Gök
New Member
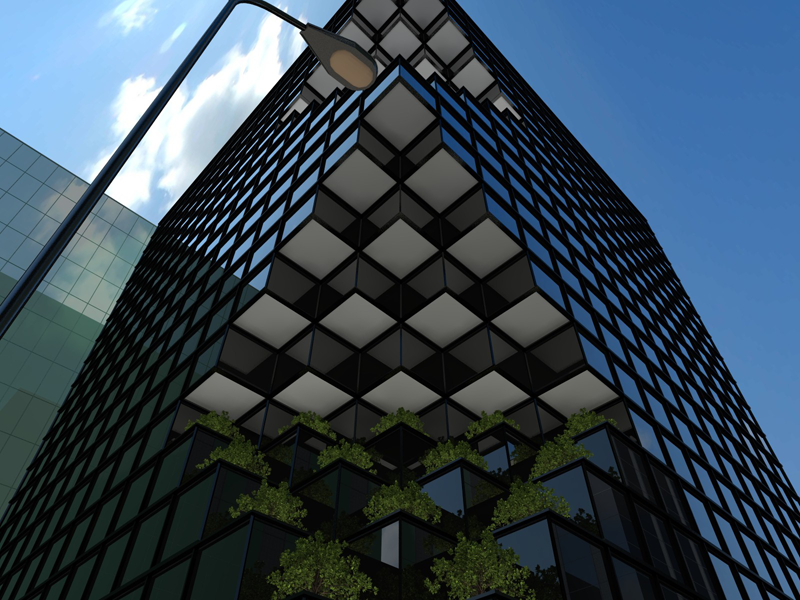
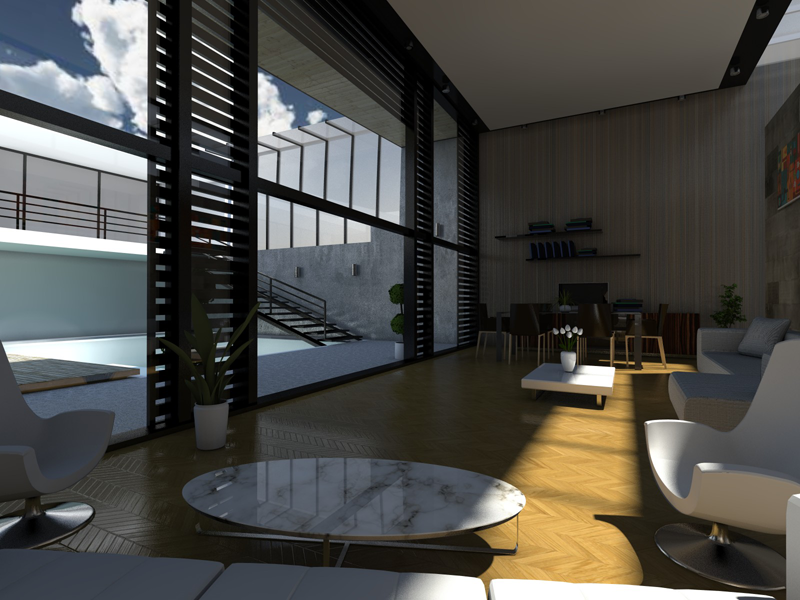
SCENE 1 - HALL 1 The link contains the cde file of a sample hall project prepared in ideCAD Architecture 6.2006 version and the textures used in the project. After the project is loaded, when you enter the properties of one of the textures that appear with a question mark in the material list and show the target directory as the folder where you copied the attached textures, all textures will appear in the perspective window. The viewpoint where the following render is taken is on the perspective screen with the name of the camera -1. You can get the same picture when you render with default settings by right-clicking on the perspective window and entering the render command from the menu. You can also get different renders by examining and changing the defined render and material settings. In the coming days, we will continue to share other sample studies under this title with you. IMPORTANT NOTE: In the sample rendering projects we have added to the forum; In order to avoid missing texture in perspective textured image and render, the following operations must be done. With the project open, enter the materials command from the settings menu. In the material list that opens, you will see that some materials have a red question mark. These are surface textures that you can't see in the render. Select one of them by double-clicking eg. parquet... Select the empty gray area opposite the dock. (Field to the left of 100) From the Folder section eg. point the hall render folder you downloaded as the target directory. When you show the folder, the parquet texture will come automatically. Say ok and exit. You will see that the question marks of other materials in the material list are also removed. Exit the material editor by clicking all again. Now you can see all textures in perspective. You do not need to do this every time you enter the project. It is sufficient to show the target directory for a material once.
You do not have permission to view link
Log in or register now.